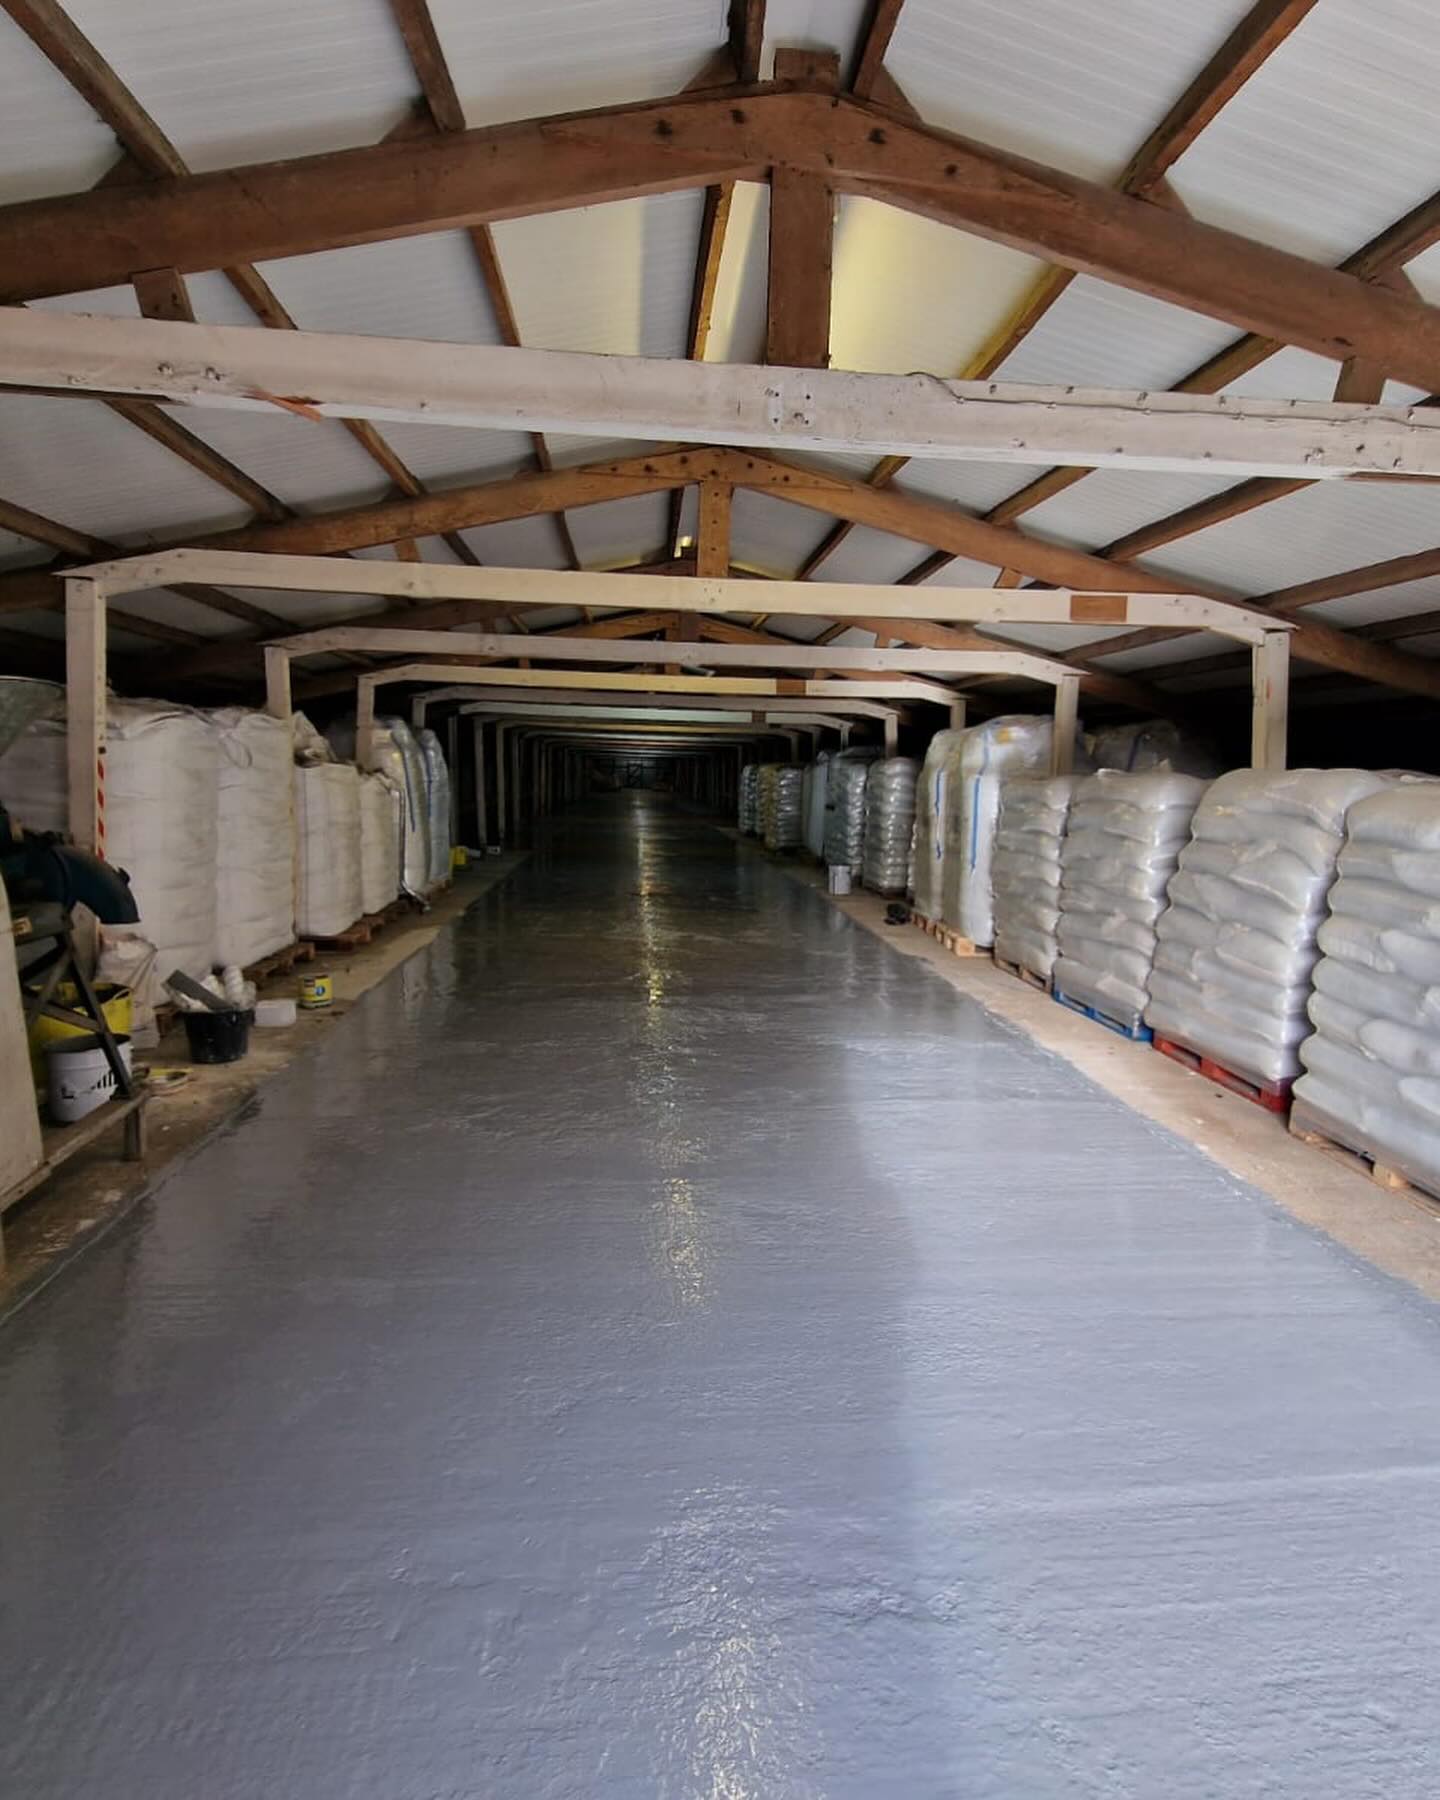
Epoxy flooring has become a popular choice for commercial, industrial, and residential spaces due to its durability and aesthetic appeal. While it’s known for its strength and longevity, even the most well-maintained epoxy floors can experience wear and tear over time.
Cracks, chips, and discoloration are common issues that may arise, particularly in high-traffic areas or with improperly installed DIY flooring. Fortunately, most epoxy floor damage can be repaired effectively, restoring the surface to its original glory. Understanding the repair process and proper maintenance techniques is crucial for preserving the beauty and functionality of your epoxy flooring investment.
Key Takeaways
- Epoxy flooring can experience issues like cracks, peeling, discolouration, and bubbles despite its durability and strength.
- Proper assessment of damage is crucial for determining whether to repair or replace the epoxy flooring.
- Effective repair requires thorough surface preparation, including cleaning, sanding, and filling cracks or chips.
- Advanced repair techniques such as resurfacing and joint repair can address more extensive damage to epoxy floors.
- Regular maintenance, including cleaning practices, protective measures, and periodic re-coating, helps prevent damage and extend the lifespan of epoxy flooring.
Understanding Epoxy Flooring
Epoxy flooring is a popular choice for industrial, commercial, and residential spaces due to its durability and aesthetic appeal. This section explores the benefits of epoxy flooring and common issues that may arise over time.
Benefits of Epoxy Flooring
Epoxy flooring offers numerous advantages:
- Durability: Withstands heavy wear and tear for years
- Strength: Resists impacts, chemicals, and stains
- Low maintenance: Easy to clean and maintain
- Aesthetics: Available in various colours and finishes
- Safety: Can be formulated with non-slip additives
- Cost-effective: Long-lasting and reduces replacement frequency
These benefits make epoxy flooring an ideal choice for high-traffic areas, industrial facilities, and residential spaces like garages.
Common Issues with Epoxy Floors
Despite its durability, epoxy flooring can experience problems:
- Cracks: Caused by substrate movement or heavy impacts
- Peeling: Results from poor installation or hot tyre pickup
- Discolouration: Occurs due to UV exposure or chemical reactions
- Bubbles: Arise from outgassing during installation
- Wear patterns: Develop in high-traffic areas over time
Factors influencing these issues include:
- Installation quality
- Maintenance practices
- Environmental conditions
- Usage intensity
While epoxy flooring is robust, understanding these potential problems helps in implementing proper maintenance and timely repairs to extend the floor’s lifespan.
Assessing Epoxy Floor Damage
Proper assessment of epoxy floor damage is crucial for determining the appropriate repair strategy. By identifying the type and extent of damage, property owners can make informed decisions about whether to repair or replace their epoxy flooring.
Types of Damage
Epoxy flooring can experience various forms of damage over time:
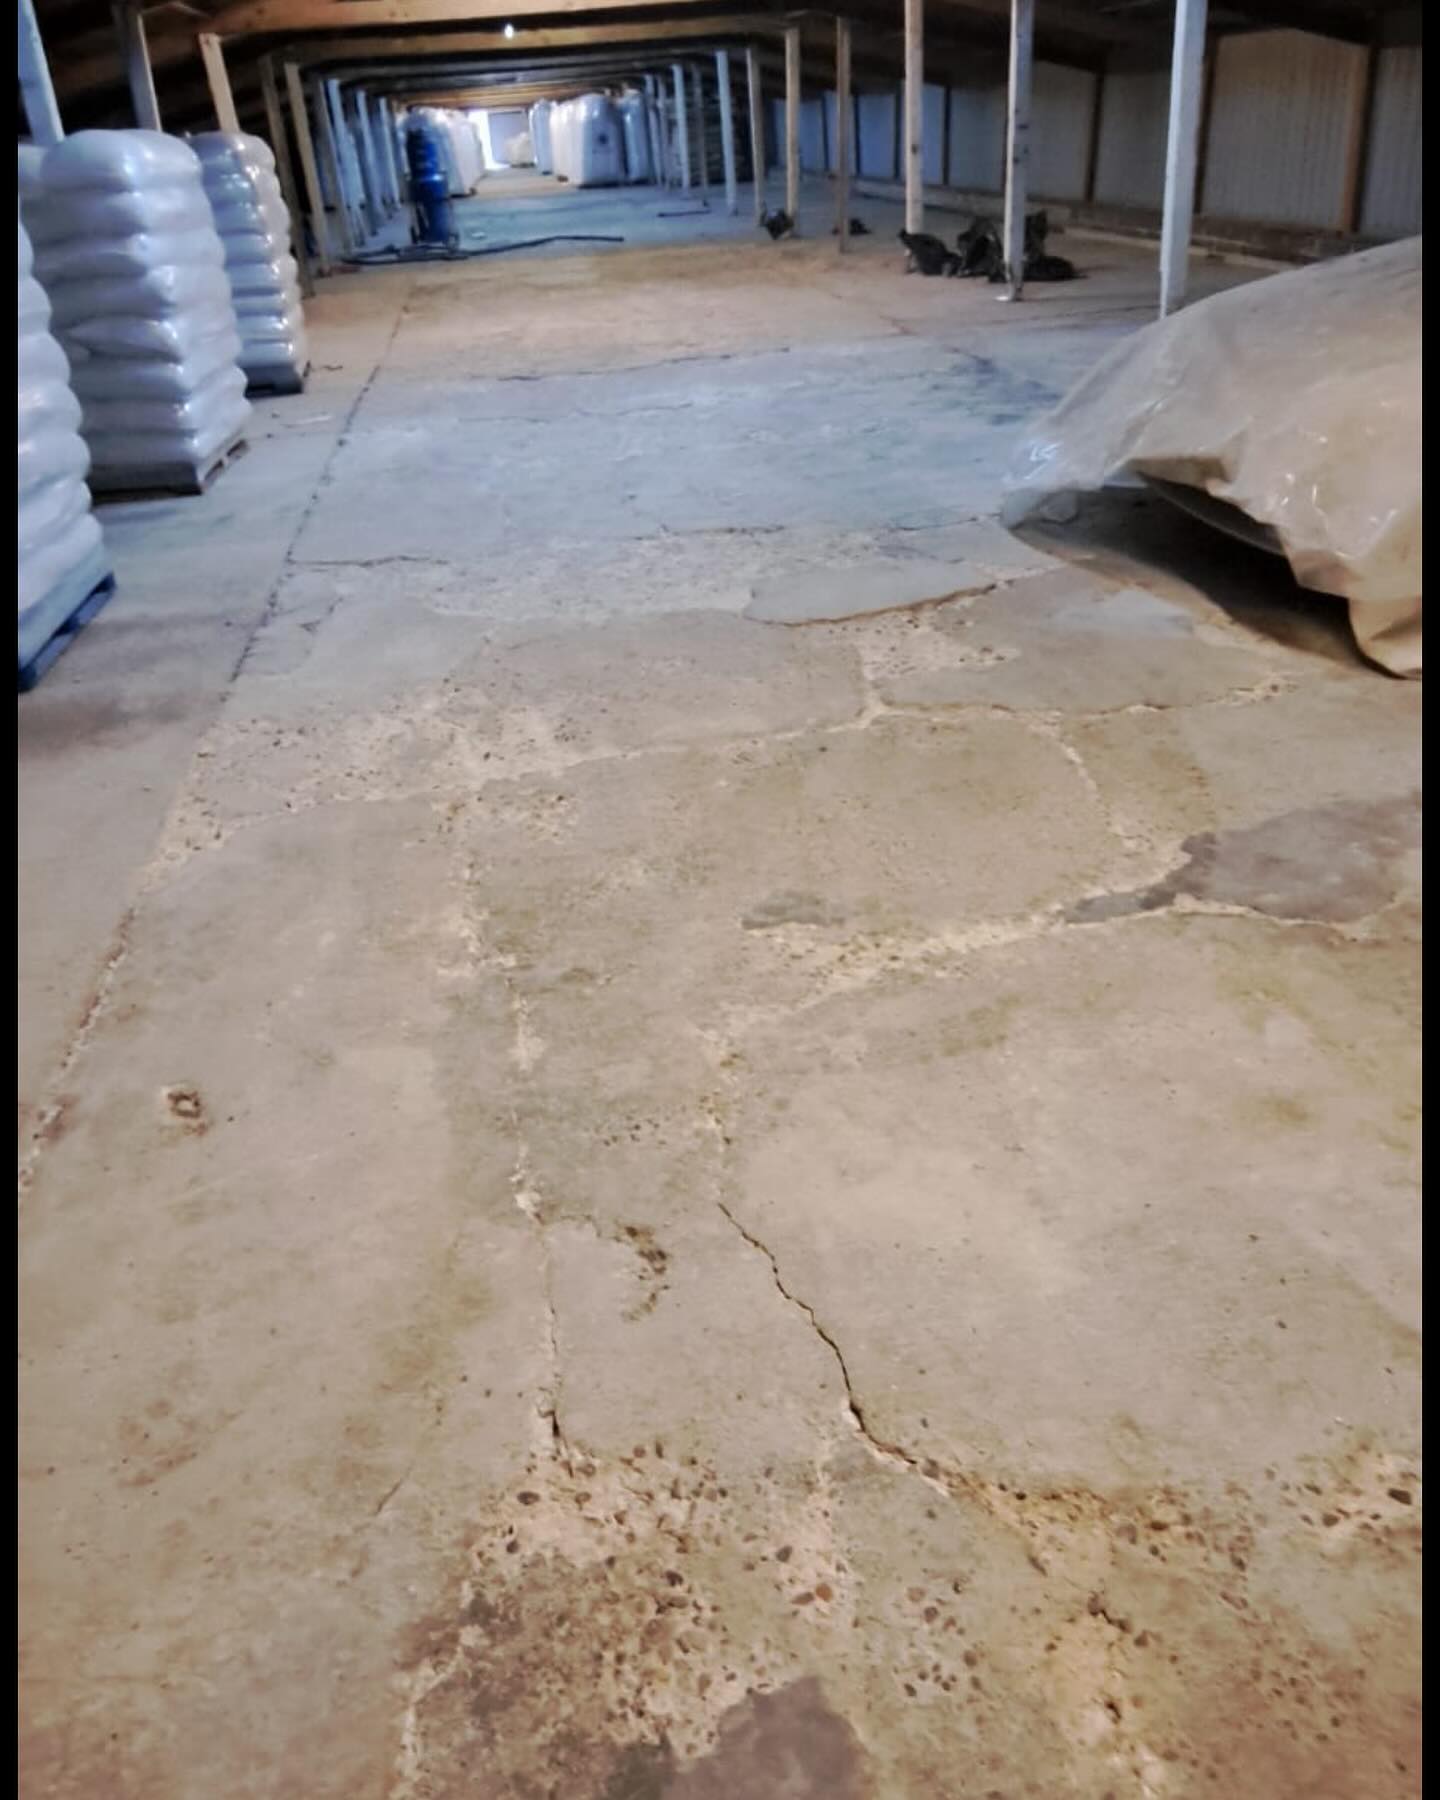
- Cracks: Small fissures or larger splits in the epoxy surface
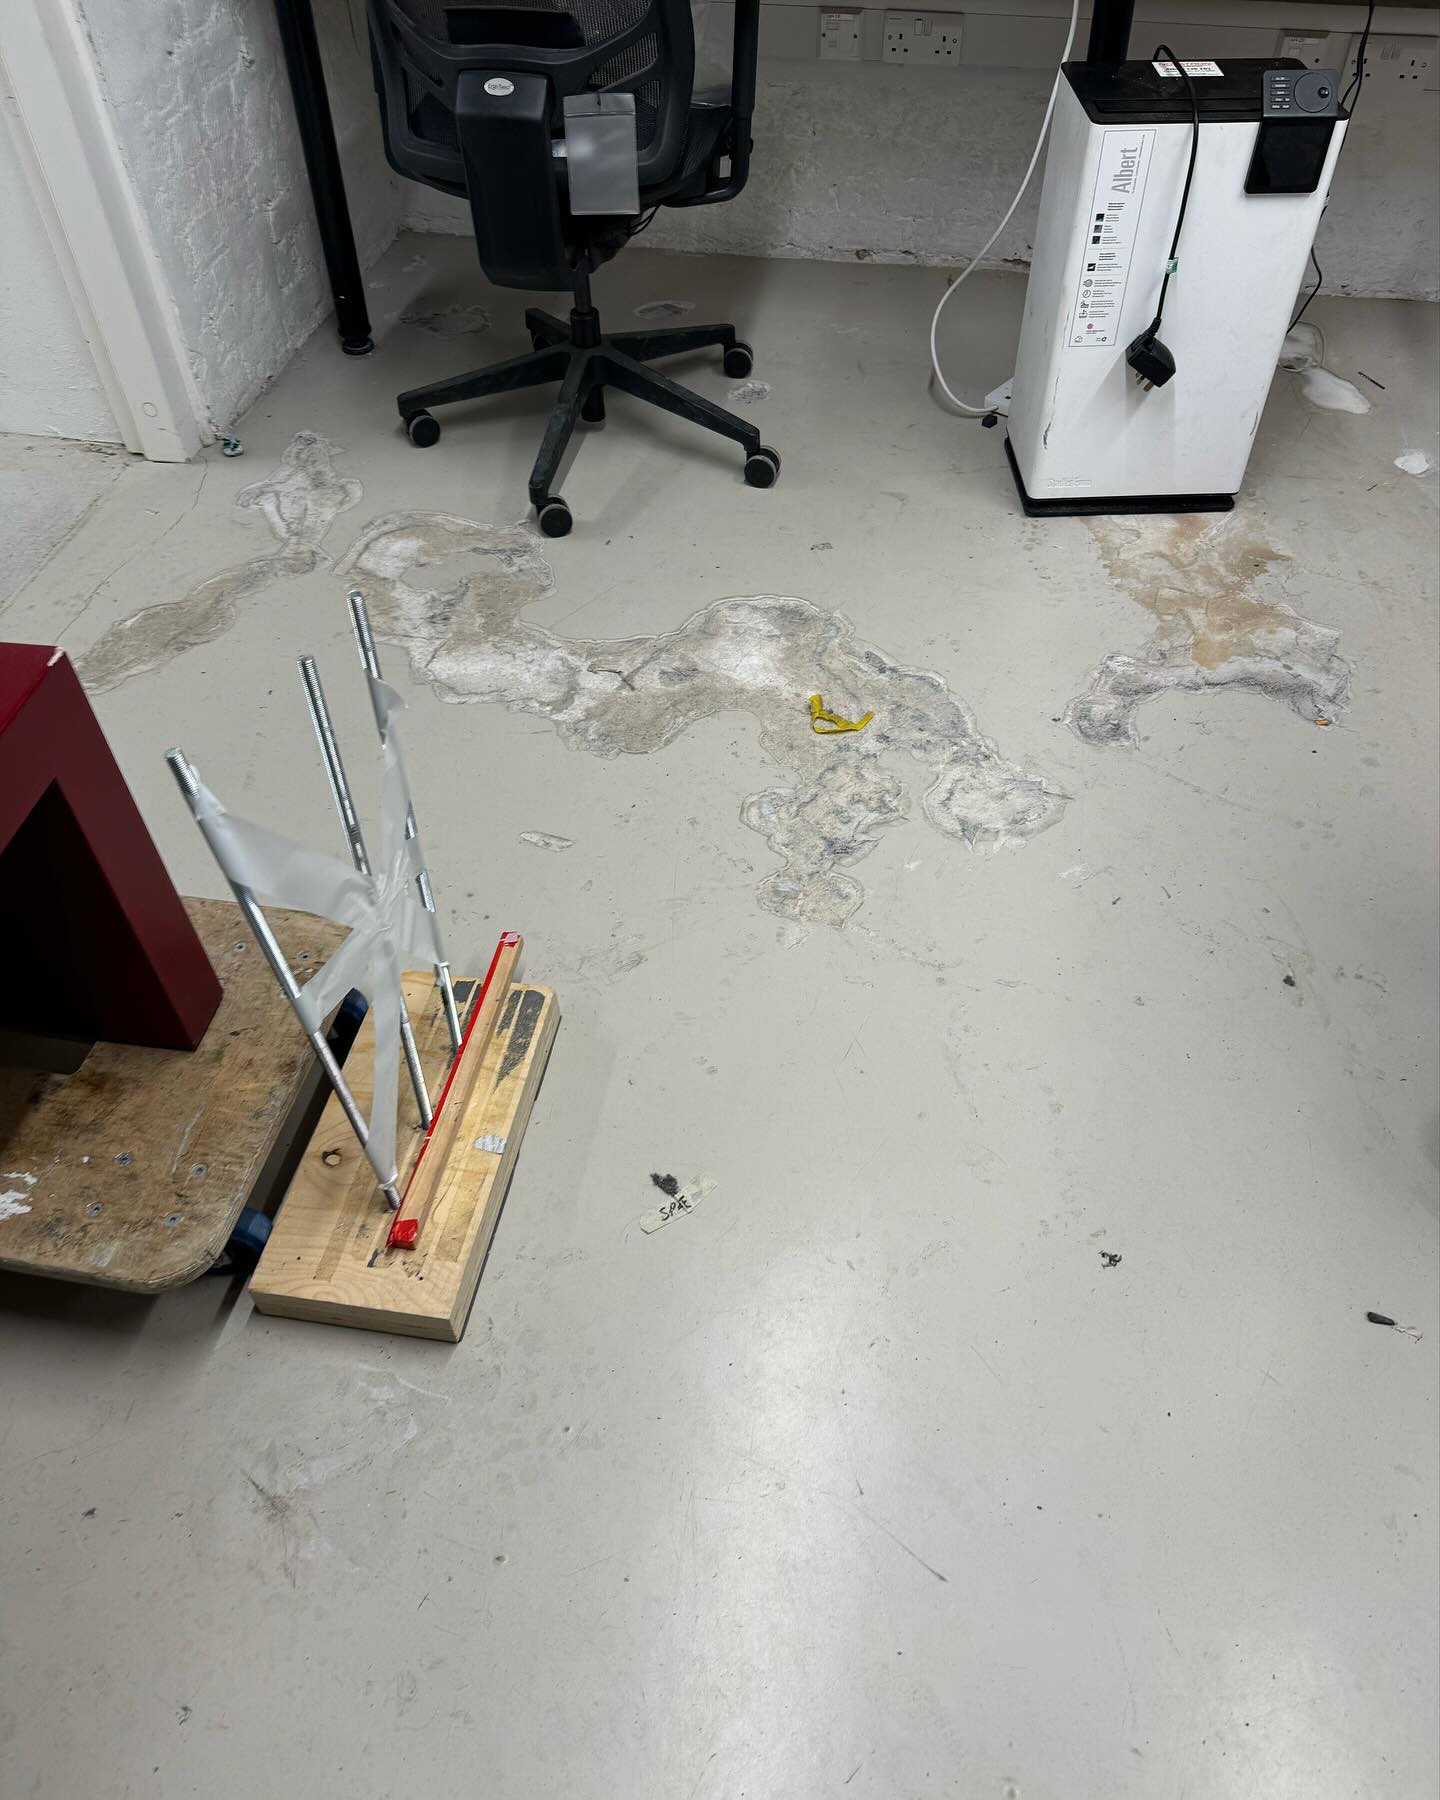
- Peeling: Separation of the epoxy coating from the underlying substrate
- Discolouration: Fading or changes in the original colour of the epoxy
- Bubbles: Air pockets trapped beneath the epoxy surface
- Chips: Small pieces of epoxy that have broken away from the main surface
- Wear patterns: Areas of thinning or erosion due to heavy foot traffic or equipment use
Each type of damage requires a specific repair approach. For instance, small cracks might be filled with epoxy filler, while larger areas of peeling may necessitate removal and reapplication of the epoxy coating.
When to Repair vs Replace
The decision to repair or replace epoxy flooring depends on several factors:
- Extent of damage:
- Minor damage: Repair if less than 25% of the floor is affected
- Major damage: Consider replacement if more than 25% is compromised
- Age of flooring:
- 0-5 years: Repair is often sufficient
- 5-10 years: Assess on a case-by-case basis
- 10+ years: Replacement may be more cost-effective
- Type of damage:
- Surface-level issues: Often repairable
- Substrate problems: May require complete replacement
- Cost considerations:
- Repair costs: Typically lower for isolated issues
- Replacement costs: Higher upfront but may offer long-term savings
- Aesthetic concerns:
- Visible repairs: May affect overall appearance
- Consistent look: Full replacement ensures uniform finish
- Future use:
- Short-term needs: Repairs may suffice
- Long-term plans: Replacement provides a fresh start
Ultimately, the decision between repair and replacement should balance the current condition of the floor, budget constraints, and long-term goals for the space. Consulting with a professional epoxy flooring specialist can provide valuable insight into the best course of action for specific situations.
Preparing for Epoxy Floor Repair
Proper preparation is crucial for successful epoxy floor repair. This section outlines the essential tools, materials, and techniques required to ensure a durable and long-lasting repair.
Tools and Materials Needed
To repair an epoxy floor effectively, gather the following tools and materials:
- Epoxy repair kit (matching the original floor colour)
- Protective gear (gloves, safety goggles, and respirator)
- Cleaning supplies (degreaser, scrub brush, and microfibre cloths)
- Sanding equipment (electric sander or sandpaper)
- Mixing containers and stirring sticks
- Putty knife or trowel
- Paintbrushes or rollers
- Vacuum cleaner with HEPA filter
- Acetone for cleaning tools
Surface Preparation Techniques
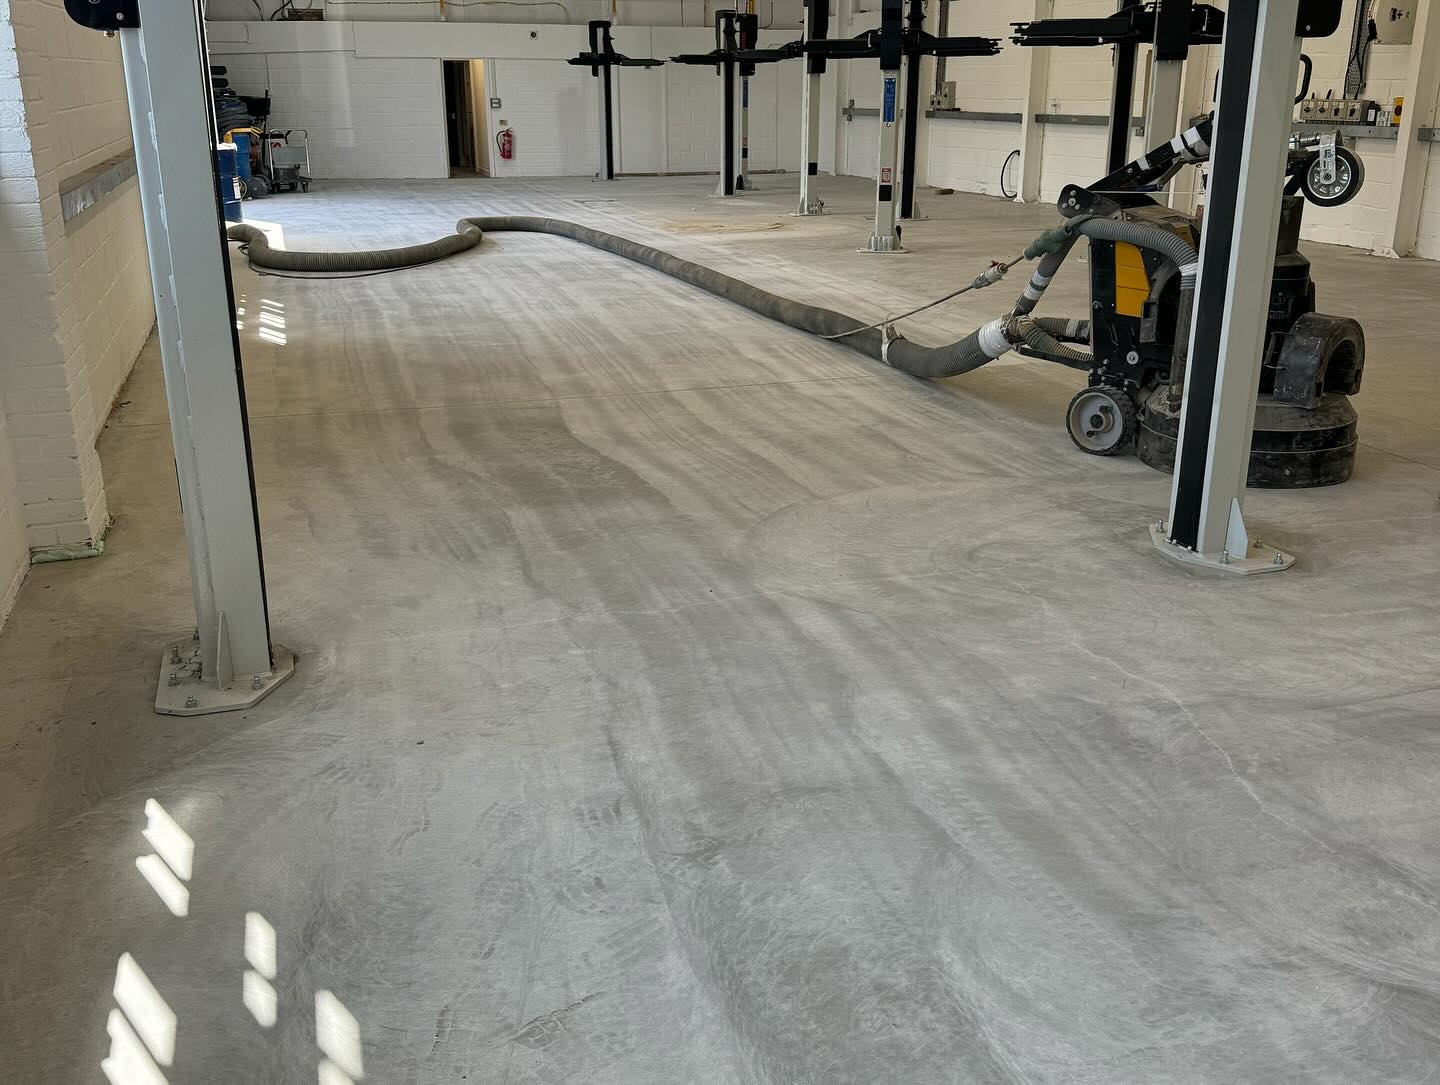
Proper surface preparation ensures optimal adhesion and longevity of the repair:
- Clean the damaged area thoroughly:
- Remove dirt, grease, and debris using a degreaser
- Scrub the surface with a brush and rinse with clean water
- Allow the area to dry completely
- Sand the damaged area:
- Use an electric sander or sandpaper to roughen the surface
- Create a slightly larger area than the damage to ensure proper blending
- Vacuum all dust and debris, then wipe with acetone
- Repair cracks or chips:
- Fill small cracks with epoxy filler
- For larger damage, use a two-part epoxy patching compound
- Allow repairs to cure according to manufacturer’s instructions
- Final cleaning:
- Vacuum the area again to remove any remaining dust
- Wipe the surface with a tack cloth to ensure it’s completely clean and dry
By following these preparation steps, the repaired area will be ready for the application of new epoxy, ensuring a seamless and durable finish.
Repairing Epoxy Floor Damage
Epoxy flooring, despite its durability, can suffer from various types of damage over time. Addressing these issues promptly and effectively is crucial to maintain the floor’s appearance and functionality.
Fixing Cracks and Chips
Cracks and chips in epoxy flooring are repairable using epoxy putty or filler. Clean the damaged area thoroughly, then apply the epoxy filler, smoothing it out to match the surrounding surface. Once dry, sand and polish the area for a seamless finish. For smaller fissures, mortar can be an effective alternative. Apply the compound directly over the cracks and chips, using a trowel to work it in evenly. Allow the material to cure for approximately 60 days before applying a new layer of epoxy.
Addressing Bubbles and Peeling
Bubbles and peeling in epoxy flooring often result from poor installation or environmental factors. To repair bubbles, puncture them with a small needle and inject epoxy resin beneath the surface. For peeling areas, sand the affected region to create a smooth transition, clean thoroughly, and apply a new layer of epoxy. In cases of extensive damage, resurfacing the entire area may be necessary before applying new epoxy.
Correcting Discoloration and Scratches
Discoloration in epoxy flooring typically occurs due to UV exposure or chemical reactions. To address this issue, sand the affected area and apply a new layer of UV-resistant epoxy coating. For minor scratches, use fine-grit sandpaper or a specialized epoxy scratch repair kit. Gently sand the scratched area in a circular motion, gradually blending it with the surrounding surface. Finish by applying a polishing compound to restore the shine. In cases of severe discoloration or deep scratches, consider resurfacing the entire floor to ensure a uniform appearance.
Advanced Repair Techniques
Advanced repair techniques for epoxy flooring address more complex issues and larger areas of damage. These methods require specialized knowledge and equipment to restore the floor’s integrity and appearance effectively.
Resurfacing and Screeding
Resurfacing and screeding are advanced techniques used to repair extensive damage or uneven surfaces in epoxy flooring. Resurfacing involves applying a new layer of epoxy over the existing floor, while screeding uses a specialized mixture to level the surface.
For resurfacing, a self-levelling epoxy compound is applied to create a smooth, renewed surface. Products like Mapei Ultratop Industrial, a self-levelling industrial floor screed, can be used for thicknesses from 5 to 40mm. This type of product is based on special hydraulic binders and provides excellent abrasion resistance.
Screeding is particularly useful for addressing uneven surfaces or preparing a substrate for a new epoxy coating. Centrecoat MMA Smooth Screed offers a hard-wearing, impervious floor finish that provides full return to service in just 2 hours. It’s hygienic, easy to clean, and chemical resistant, making it ideal for industrial and commercial environments.
Joint Repair Methods
Joint repair is crucial for maintaining the structural integrity of epoxy flooring, especially in areas subject to movement or heavy loads. Effective joint repair prevents water infiltration and further damage to the substrate.
For repairing cracks and joints, LRS RapidRoof Crack and Joint Filler is an excellent option. This product is designed to seal and protect joints and cracks in various flooring systems, including epoxy.
In cases where a stronger bond is required, Sika Sikadur 31 Plus can be used. This two-component, thixotropic epoxy adhesive is suitable for structural bonding and repair. It adheres to most construction materials and provides high strength bonding for joint repair.
For larger or more complex joint repairs, a combination of products may be necessary. A tack primer like Centrecoat Mortar Epoxy Tack Primer can be applied first to ensure proper adhesion of subsequent repair materials. This improves the bond between the existing surface and the repair compound, enhancing the longevity of the repair.
Maintenance and Prevention
Proper maintenance and preventive measures are crucial for extending the lifespan and preserving the appearance of epoxy flooring. By implementing regular cleaning practices, protective measures, and periodic re-coating, owners can significantly reduce the need for repairs and maintain the floor’s optimal condition.
Regular Cleaning Practices
Regular cleaning is essential for maintaining the appearance and hygiene of epoxy surfaces. A non-abrasive cleaner and a soft mop or cloth effectively remove dust, dirt, and spills. Harsh chemicals and abrasive cleaning tools are avoided to prevent damage to the epoxy finish. For optimal results, clean epoxy floors weekly in high-traffic areas and monthly in low-traffic areas.
Protective Measures
To prevent scratches and dents, protective measures are implemented in high-traffic areas and under heavy furniture. Mats, area rugs, and furniture pads help distribute weight and minimise the risk of damage. In industrial settings, using protective coatings designed for heavy machinery and chemical resistance further safeguards the epoxy surface. Implementing a no-shoe policy or using shoe covers in residential areas reduces wear and tear.
Periodic Re-Coating
Over time, epoxy surfaces may start to wear, especially in high-traffic areas. Periodic re-coating restores the floor’s appearance and protection. The frequency of re-coating depends on factors such as foot traffic, exposure to chemicals, and overall wear. In residential settings, re-coating every 3-5 years is typically sufficient, while commercial or industrial environments may require more frequent re-coating, potentially every 1-3 years. Consulting with a professional or referring to the manufacturer’s guidelines ensures appropriate timing and process for re-coating.
Conclusion
Epoxy flooring repair is a crucial skill for maintaining the longevity and aesthetics of this popular flooring option. With proper assessment techniques understanding of repair methods and regular maintenance property owners can effectively address common issues like cracks chips and discolouration. By implementing preventive measures and timely repairs epoxy floors can continue to provide durability strength and visual appeal for years to come. Whether opting for DIY solutions or seeking professional help the key lies in prompt action and informed decision-making to keep epoxy floors in top condition.
Frequently Asked Questions
Can epoxy flooring be repaired?
Yes, epoxy flooring can be repaired in most cases. Common issues like cracks, chips, and minor discolouration can often be fixed using epoxy repair kits or specialised techniques. For more extensive damage, resurfacing or professional repair may be necessary. Proper assessment of the damage is crucial to determine the best repair method.
How long does epoxy flooring typically last?
With proper maintenance, epoxy flooring can last 10-20 years or more. However, its lifespan depends on factors such as installation quality, usage intensity, and environmental conditions. Regular cleaning, prompt repairs, and periodic recoating can significantly extend the life of epoxy flooring.
Is epoxy flooring suitable for residential use?
Absolutely. Epoxy flooring is increasingly popular in homes due to its durability, low maintenance, and aesthetic versatility. It’s particularly well-suited for garages, kitchens, and basements. However, proper installation and maintenance are crucial for optimal performance in residential settings.
How do I maintain epoxy flooring?
Maintain epoxy flooring by regular sweeping and mopping with non-abrasive cleaners. Use protective mats in high-traffic areas and furniture pads to prevent scratches. Avoid harsh chemicals and abrasive cleaning tools. Periodic recoating may be necessary depending on wear and tear. Follow manufacturer guidelines for best results.
Can epoxy flooring be installed over existing flooring?
In many cases, yes. Epoxy can be applied over concrete, wood, and even some existing floor coverings, provided the surface is properly prepared. However, the existing floor must be in good condition, clean, and free of moisture issues. Professional assessment is recommended to ensure suitability.
How long does it take for epoxy flooring to cure?
Epoxy flooring typically takes 24-72 hours to cure enough for light foot traffic. However, full curing can take up to 7 days for heavy use or vehicle traffic. Cure times may vary based on temperature, humidity, and the specific epoxy product used. Always follow manufacturer instructions for optimal results.